Interior Painting Like a Pro: Prep, Tools, and Technique
Painting is the highest-impact DIY project there is — and the results live or die on prep, not on how fast you can roll a wall.
Prep is 80% of the job
- Clear and cover: move furniture, drop-cloth the floor, remove outlet covers.
- Clean the walls — dust and grease keep paint from bonding.
- Fill nail holes and dents, sand smooth, and spot-prime patches.
- Tape edges you can't cut cleanly by hand, and press the edge down hard.
Tools that matter
A quality 2.5-inch angled sash brush and a good roller cover (3/8-inch nap for most walls) outperform cheap tools by a wide margin. Buy better paint, too — premium paint covers in fewer coats, saving time and often money.
Technique
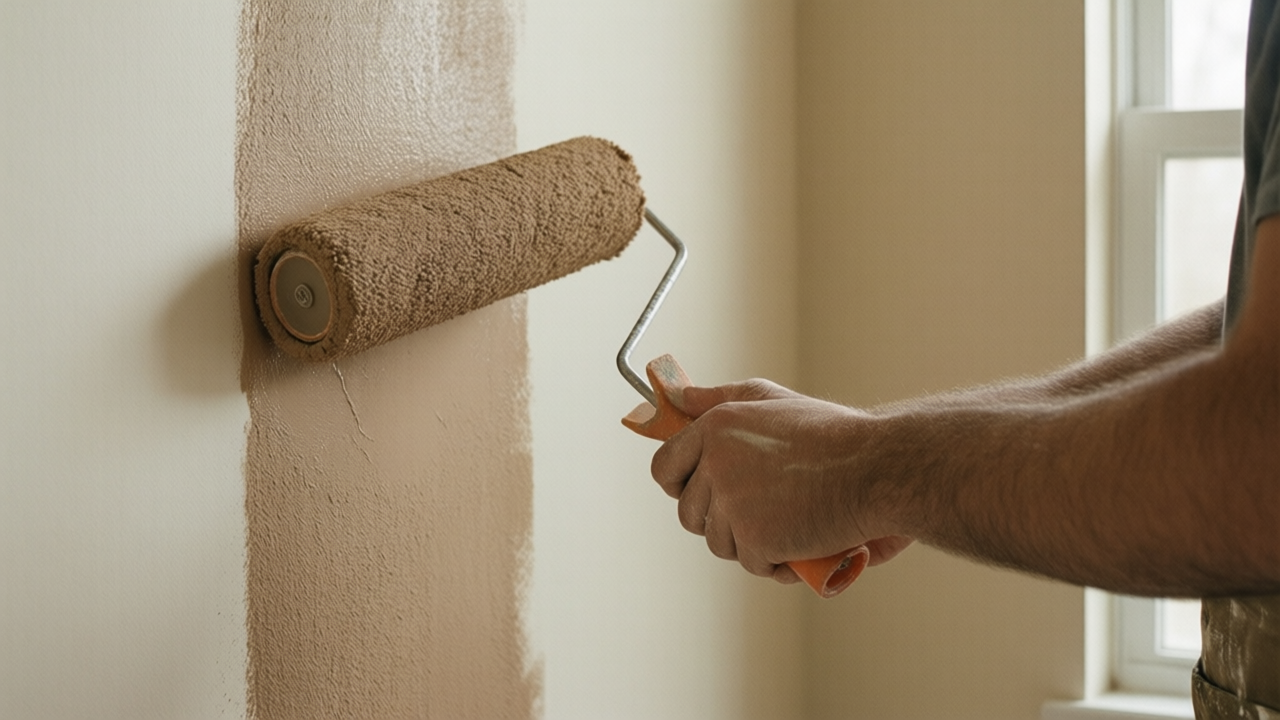
Cut in the edges of a wall first, then roll while the cut-in is still wet to blend. Roll in a "W" pattern and fill it in, keeping a wet edge so you don't get lap marks. Two thin coats beat one thick, drippy one every time.
Order of operations
Ceilings first, then walls, then trim last. Do the whole room's ceilings and walls before you tackle trim, so drips fall on unfinished surfaces.
Article Was Generated By AI.